ByAcademy of Culinary NutritionLast updated onReading Time: 9 minutes
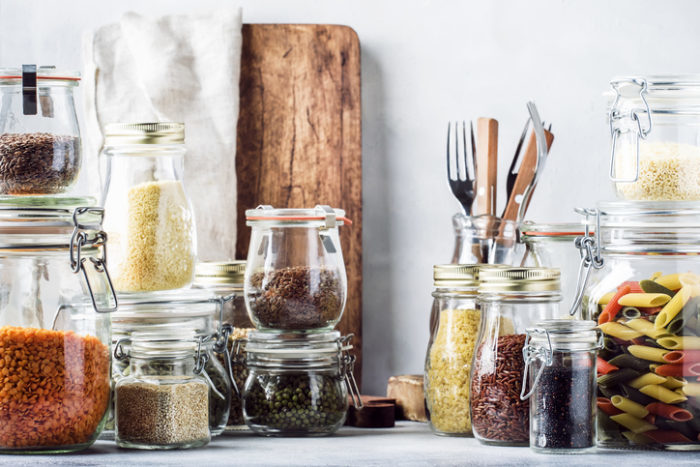
As you may imagine, at the Academy of Culinary Nutrition we are huge fans of cooking from scratch as much as we can. Pre-cooked and pre-prepared foods are more expensive, and may contain additional ingredients that detract from our health. If you’ve tried to cook beans and grains at home and simply end up with a pile of mush, this guide to cooking great-textured beans and grains is here to help.
Why Cook Beans and Grains at Home?
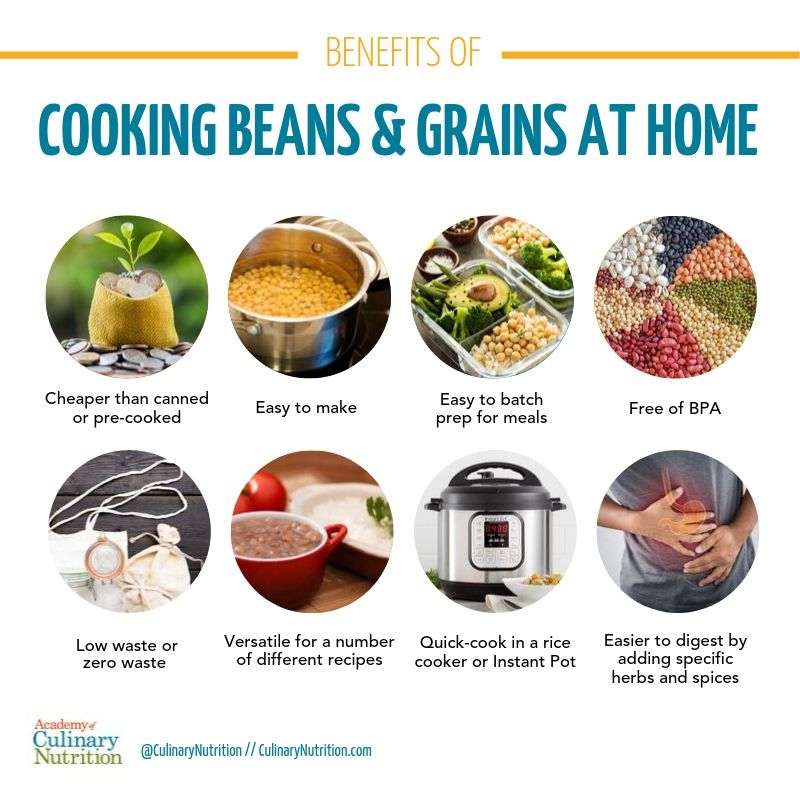
Home-cooked beans and grains are:
Cheaper than canned or pre-cooked
Easy to make
Simple to batch prep for meals throughout the week, or you can freeze to use them later
Free of bisphenol A (BPA), a hormone-disrupting chemical found in canned goods
Low waste or zero waste if you bring your own containers to the grocery store or purchase in bulk
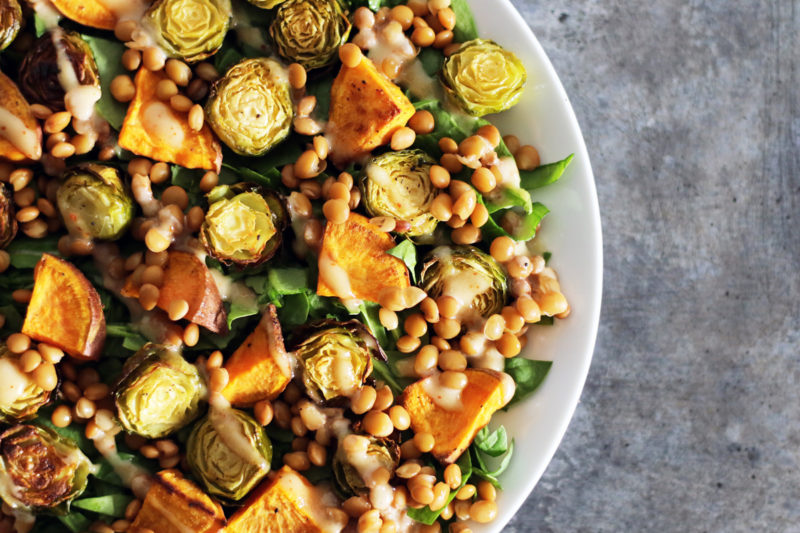
Versatile for a number of different recipes, including dips, burgers, salads, soups and one-pot meals
Quick-cooking if you have certain appliances like the Instant Pot or a rice cooker
Easier to digest by adding specific herbs and spices
Health-wise, gluten-free grains are great sources of:
B vitamins, essential for energy levels and managing stress.
Fibre, important for digestion, regularity, blood sugar balance and satiety, cardiovascular health and weight management.
Magnesium, a mineral that helps us relax and supports bone health.
Iron for energy levels.
A spectrum of vitamins and minerals associated with improved overall longevity.
Gluten-free grains include:
Millet
Rice (white, brown)
Teff
Sorghum
Oats (if certified gluten-free, check labels)
Gluten-free pseudograins aren’t technically true grains because they are not grasses, but they are cooked and used like grains. They are:
Quinoa
Buckwheat
Wild rice
Amaranth
Get your FREE Guide to Cooking Beans and Grains plus 35 more free resources!
Fill out the form below for instant access.
Free Resource Library
Enjoy more than 40 downloadable guides, recipes, and resources.
How To Cook Beans: a step-by-step guide
Tools Needed:
A large bowl for soaking
Fresh water
Dried beans
A large pot for cooking
Strainer or colander
What To Do:
Place 1 cup of beans in your large bowl and cover with fresh water. The water should cover the beans by at least 2 inches, as they will expand as they soak.
Soak 8 hours, or overnight.
Drain and rinse your beans in the strainer or colander. Rinse for a couple of minutes to ensure the anti-nutrients are released (more on that below!).
Add the soaked beans into the pot and cover with more fresh water (do not use your saved bean water). Bring to a boil.
Cook beans until they are tender – cooking times will vary on the size of the bean and if they were soaked for extra time. Larger beans will take 30-40 minutes, lentils are much quicker. Download our chart of cooking times for specific beans by filling out the form below.
When the beans are finished cooking, drain and rinse them in cold water.
Use in your favourite recipes, or freeze them for later.
How To Make Beans More Digestible
Beans and legumes are packed with protein and complex carbohydrates, along with a specific type of carb called oligosaccharides that aren’t digested until they arrive in your colon. This can lead to some uncomfortable digestive symptoms, like bloating and gas. However, there are ways to make your beans more digestible, including:
Soaking and rinsing as explained above.
Adding seaweed like kombu to the pot when cooking, which tenderizes the beans.
Adding digestive-friendly spices while cooking such as ginger, cumin, fennel seeds, turmeric, or asafoetida.
Don’t add salt until after the beans have cooked – salt during cooking will make them tougher.
Start off by eating small amounts of beans and legumes and increase as you become more tolerant.
How to Cook Beans: Troubleshooting
One of the most common complaints we hear from Culinary Nutrition Expert students is that home-cooked beans are too tough. In addition to using a seaweed to soften, baking soda may help. Also, double-check that you are using fresh beans – if they’ve been sitting in your pantry for three years, they’re going to be tougher and drier.
If the beans are too mushy, you have overcooked them. It’s helpful to set a timer so you don’t forget about your beans. You also need to get to know the heat settings on your stove and the ingredients you choose, as this varies. Once you get into the groove, cooking beans will be much easier.
How to Cook Grains: A Step-By-Step Guide
Tools Needed:
A large bowl for soaking (optional)
Fresh water
1 cup gluten-free grains
1 tsp acid (lemon juice or apple cider vinegar)
A medium-sized pot for cooking, with a lid
Fine mesh strainer
Note: Soaking grains will reduce the amount of cooking time.
What To Do, If Soaking Grains:
Place your grains of choice and the acid into a large bowl and cover with water. Allow to soak for 2-4 hours at minimum (you can soak longer if desired).
Drain and rinse your grains in your strainer.
Add the grains and 1 1/2 cups fresh water into the pot. Bring to a boil, then reduce heat to low. Cover and allow to cook, undisturbed, until all the water is absorbed. Cooking times will vary on the grain and soaking time. Quinoa, white rice and millet are quick-cooking, whole grains like brown rice, wild rice and sorghum take longer. Download our chart of cooking times and liquid ratios for specific grains by filling out the form below.
Use your grains in your favourite recipes, or freeze for later.
What To Do, If NOT Soaking Grains:
Rinse your grains for a few minutes in your strainer. Ensure to drain off as much of the liquid as possible.
Add your grains and fresh water to the pot (you can skip the acid). Generally, the ideal ratio is 1 cup of grains to 2 cups liquid. However, some grains require an additional cup, such as sorghum and wild rice. Download our chart of cooking times and liquid ratios for specific grains by filling out the form below.
Bring the pot to a boil, then reduce heat to low. Cover and allow to cook, undisturbed, until all the liquid is absorbed.
Use your grains in your favourite recipes, or freeze for later.
How To Further Increase the Nutritional Value of Grains
Add dried fruit for more fibre, flavour and minerals.
How to Cook Grains: Troubleshooting
Your grains end up too sticky or mushy? Your best bet is to follow the cooking times and liquid ratios for each grain, but these other tips can help too:
After your grains are done cooking, take them off the heat. Wrap the pot lid in a tea towel, and then place it firmly back on the pot. This will help absorb excess moisture.
Spread and separate your grains out on a baking sheet, allowing them to dry slightly before using or storing them.
Undercook them slightly, as they will cook a bit longer after you turn off the heat.
What About Arsenic in Rice?
Arsenic is heavy metal found naturally in water and soil, and was once commonly used as a poison. It is carcinogenic, and makes its way into rice because rice fields are flooded, giving the grain more time to absorb it.
Saponins: have a ‘soapy’ texture and bitter flavour, and interfere with nutrient absorption.
Tannins: interfere with iron absorption.
Protease inhibitors: compounds that interfere with the digestion and absorption of proteins.
The good news is these anti-nutrients can be massively reduced or eliminated through several preparation and cooking methods! You can decrease anti-nutrients when you cook beans and grains by:
Soaking: this helps to release anti-nutrients, which is why we discard the soaking water rather than using it for cooking.
Rinsing: once grains or legumes are soaked, rinsing washes away the anti-nutrients.
Sprouting: this not only reduces anti-nutrients, it also helps improve digestion and unlocks nutrients so they are more available for us to use. Discover how to sprout here.
Adding an acid: Citrus or apple cider vinegar can help reduce anti-nutrients.
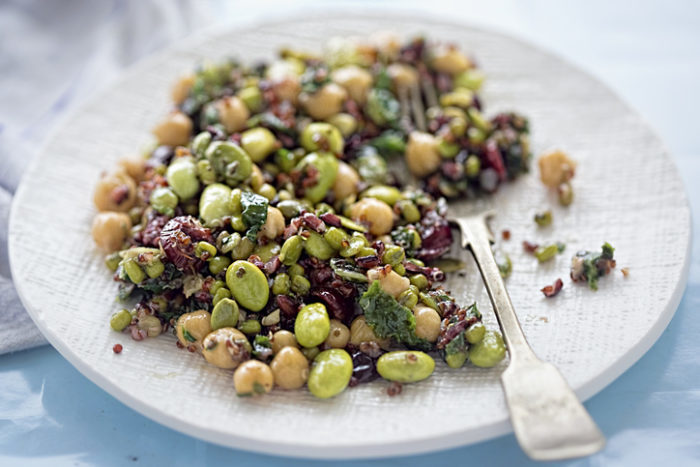
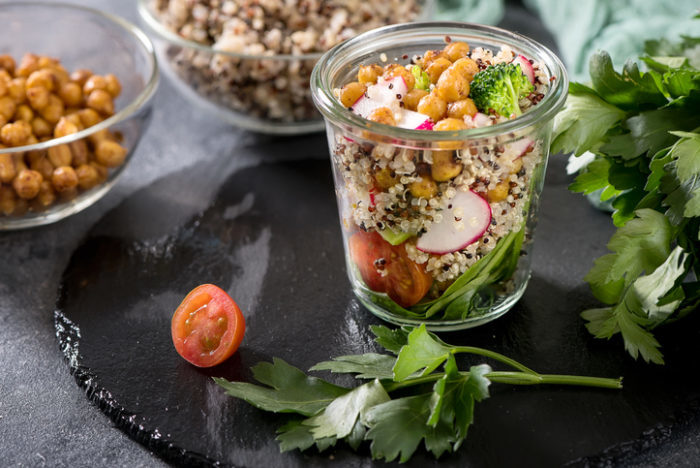
There you have it! Your complete culinary nutrition guide to help you cook beans and grains. If you’re looking for some recipe inspiration to use your beans and grains, we have a few suggestions below.