ByAcademy of Culinary NutritionLast updated onReading Time: 8 minutes
Whether you have an overflowing home garden, bought too much produce at the grocery store or are wondering what to do with the surplus of herbs on your windowsill, simple food preservation methods can help you save ingredients, as well as retain their nutritional value, for months to come. Learning how to preserve food at home is easy with these simple techniques!
Culinary Nutrition Benefits of Preserving Food at Home
There are multiple reasons to consider learning to preserve food at home. This process:
retains nutrients of certain foods when they are most potent
saves you money
allows you to stash seasonal foods to enjoy later when they’re out of season
reduces food waste, as you are storing or preserving food to use later rather than composting or tossing it
helps you explore different ways to use foods
Tools Needed to Preserve Food at Home
What you need to preserve food depends on which method you are using, but a basic food preserving setup can include:
Sheet pans
Knife and cutting board
Blender or food processor
Storage containers
Parchment paper
Masking tape and a marker for labeling
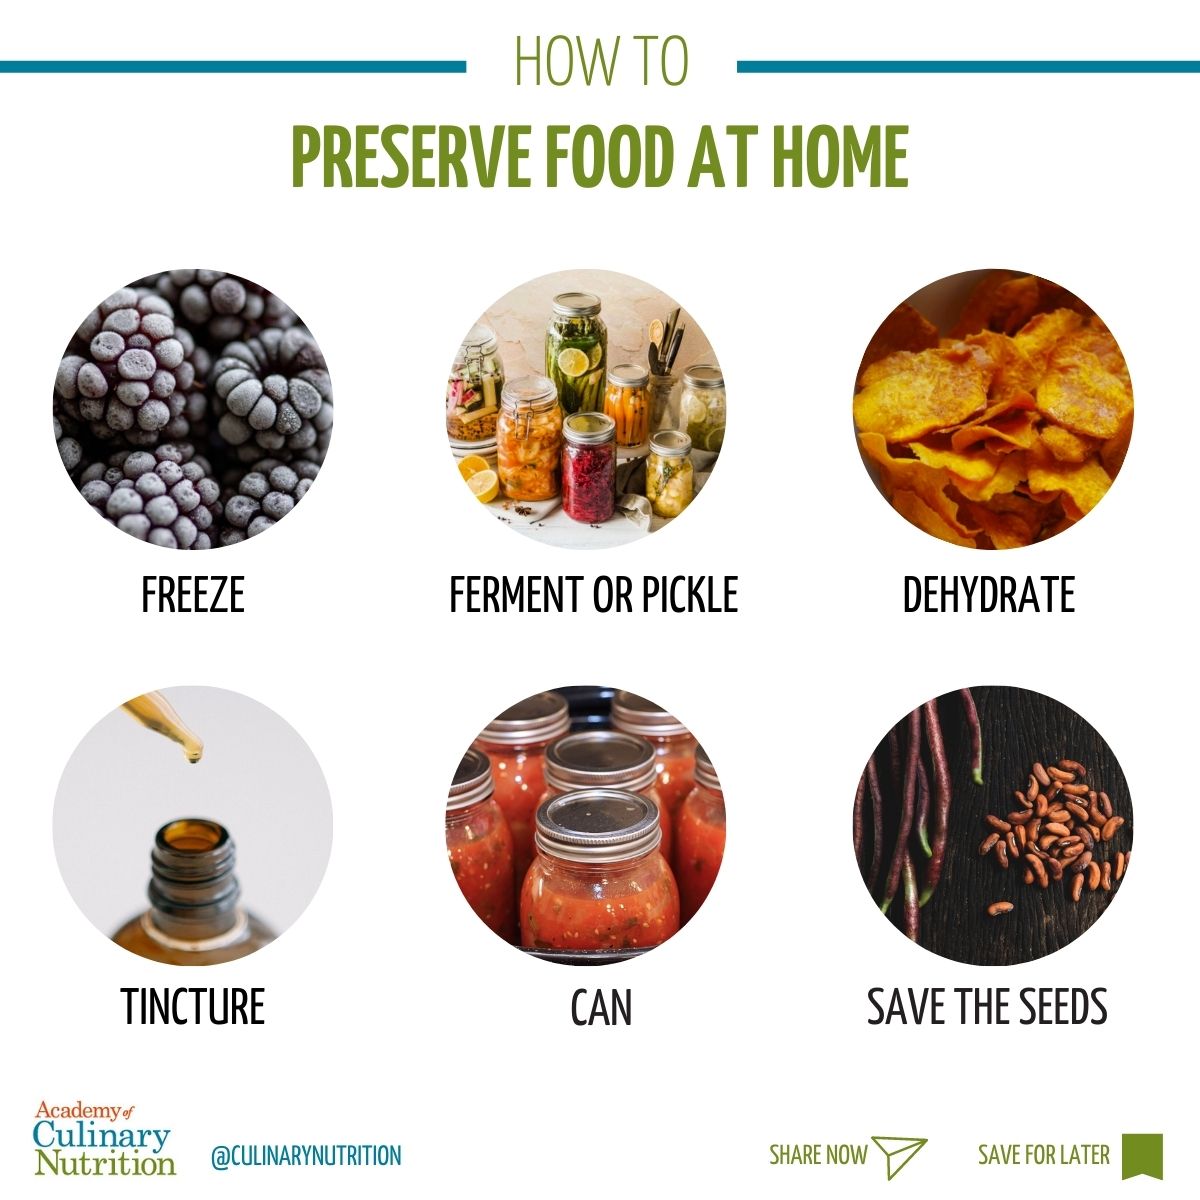
Easy Ways to Preserve Food at Home
These are some of our favourite methods we use on a regular basis.
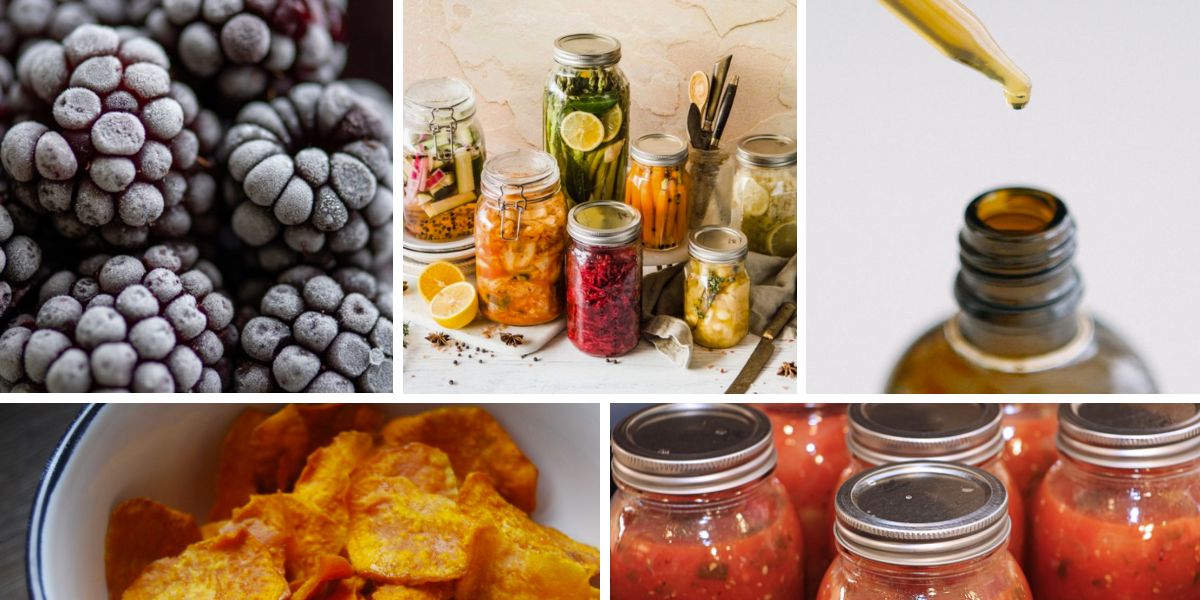
Freezing
Image: Bozhin Karaivanov on UnSplash
Freezing is the most basic and accessible way to preserve your own food with a minimal amount of specialty equipment.
You can freeze ingredients whole or chopped, freeze partially made or fully made recipes to use later, or freeze kitchen scraps or stray ingredients for homemade broth.
Brown bananas for baking or ice cream (this is how!)
General Freezing Tips to Preserve Food at Home
Whatever you are freezing, be sure to label the name of the item and the date you are putting it into the freezer. You don’t want to forget what’s in your container or how long it’s been there, or defrost the wrong thing because of misidentification.
Fruits and veggies
Wash and dry well, then cut into bite-sized pieces (or larger, if you have a specific recipe in mind for what you’re freezing). If you’d like, you can quickly blanch veggies first.
Lay on a baking sheet lined with parchment paper. Freeze for an hour, then transfer to a sealed container. This helps to prevent the produce from sticking together in huge, frozen clumps.
Food scraps for broth
Keep a large bag or container in the freezer and add your peels and vegetable trimmings to it, as well as extra herbs. When the container is full, use it to make broth!
Liquid items like soups, stews, nut milk or smoothies
For hot items: allow them to cool completely, then transfer them to a freezer-safe jar or container. Leave an inch or two of space at the top to allow for expansion.
For cold items: Pour liquid into a freezer-safe jar or container. Leave an inch or two of space at the top to allow for expansion.
Gluten-free baked goods
For portioned items like muffins, cookies, bars and squares, freeze in large containers layered between sheets of parchment paper, if needed, to prevent them from sticking. This method is also great for burgers and other patties.
For larger items like crusts, bread or cake, you can freeze in slices or single servings using the method above, or freeze in larger chunks (for example, half a loaf of bread) to defrost and slice later.
Casserole-style dishes (lasagna, etc.)
Freeze right in the pan (many cookware options now have fridge or freezer lids so you can stash them easily. Alternatively, you can wrap squares or chunks of casseroles in waxed paper, beeswax wraps, or in parchment and then stack them.
Fresh herbs
Try blending them with oil or water, then freeze in ice cube trays. This is great for seasoning food! Otherwise, you can chop them finely, put them in the bottom of ice cube trays, then pour olive oil or ghee on top.
The only downside to freezing food is if you don’t have enough freezer space. It helps to take inventory of your freezer items and consume them regularly (don’t make the freezer a place where foods you don’t want to eat go to collect freezer burn!). That way, you have an ongoing rotation of items coming and going, as opposed to only being stacked and forgotten. Meal prep and menu planning are key!
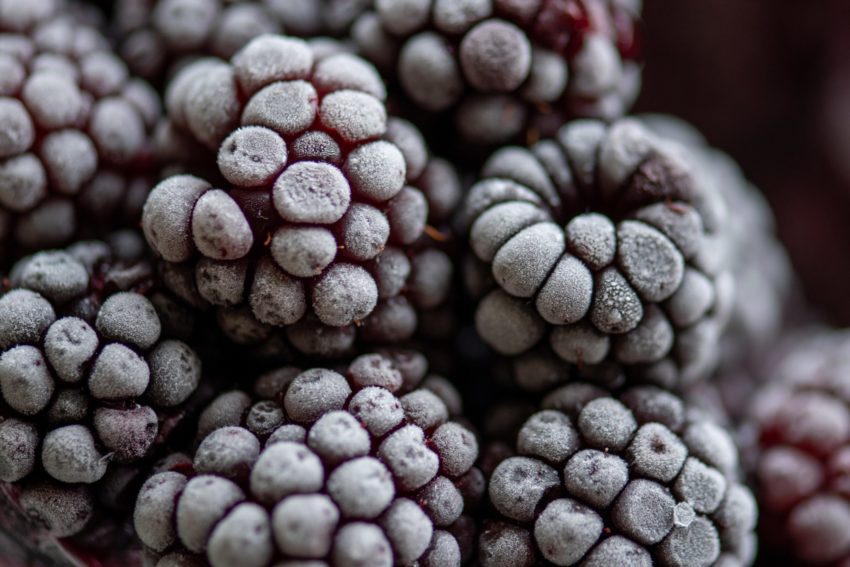
We adore fermented foods because of their benefits to digestive health and the immune system. Our preference is to ferment produce over pickling, as fermentation yields probiotic advantages.
We are firm believers that you can lacto-ferment almost any seasonal produce into pickles. Veggies tend to be easier to ferment than fruits and require less diligent monitoring (as the sugars in fruits yield very, very quick fermentation). However, there are some specialized fruit fermentation recipes such as kombucha and switchel that are delicious!
Pickled foods, on the other hand, are brined in vinegar so you aren’t gleaning those benefits. Almost any vegetable can be pickled! Learn to make your own pickles here. And be sure to save and sip the pickle juice!
Get your FREE Pickling Guide plus 35 more free resource guides!
Fill out the form below for instant access.
Free Resource Library
Enjoy more than 40 downloadable guides, recipes, and resources.
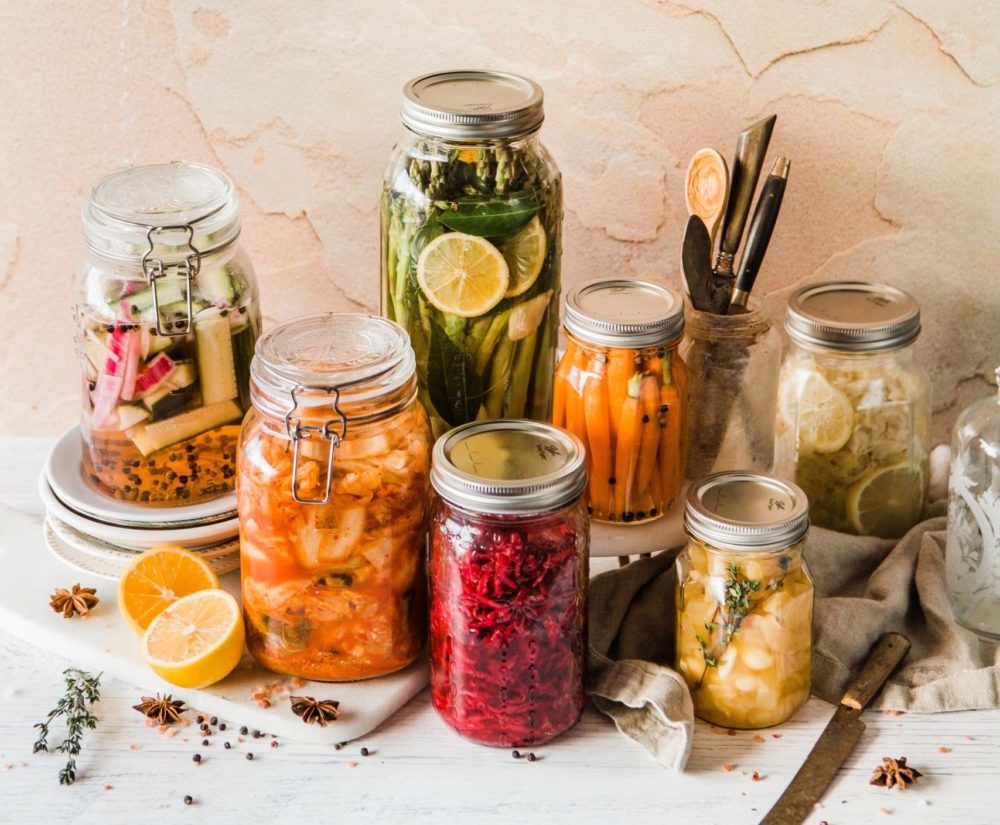
Dehydrating
Dehydrating is one of the oldest forms of preserving food and is simply the process of drying a food out until you’ve removed most of the moisture. Historically, cultures used the sun to dehydrate food. We can still do this, though there are some handy tools available now that quicken the process such as food dehydrators and oven drying.
If you’re following a raw food diet, the general consensus is that food shouldn’t be dehydrated higher than 118 degrees. The lower the temperature, the longer it will take for the food to dry.
Note that animal products for items like jerky should be dehydrated at a higher temperature, such as 155 degrees or above, to prevent any pathogens from developing.
Depending on the recipe, you’ll want to be mindful of the temperature you use and how long you dehydrate (as some recipes will yield a crunchy result, while others need to be more pliable and chewy).
Food Dehydrator Versus The Oven
A food dehydrator’s maximum temperature is usually about 155–165 degrees and allows for all-around air circulation. Your oven’s lowest temperature is much higher, typically about 200 degrees and unless you have a convection oven (or a convection oven setting), you may not get as much airflow.
You can use your oven for dehydration by setting the oven at its lowest temperature and cracking the door at the top to help the heat escape.
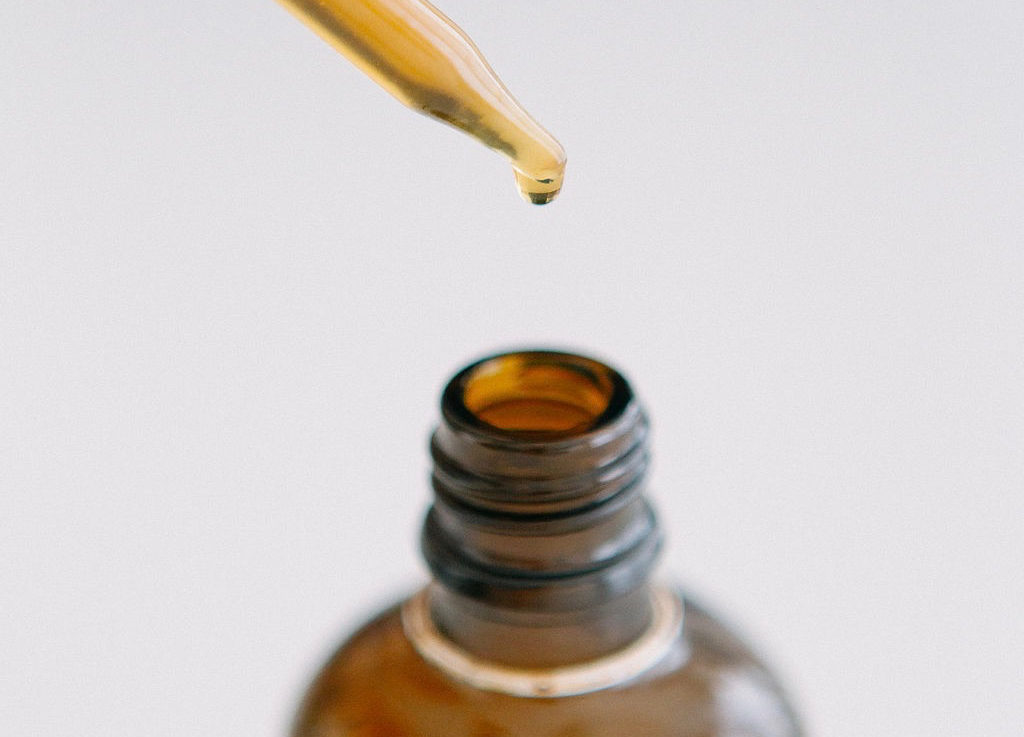
We are on a mission to help people tincture at home! Tinctures are a solution of alcohol or alcohol and water, along with the plant that you’re using for medicinal benefits. The alcohol helps to extract constituents from ingredients that may not be readily soluble in water.
Tinctures usually take longer to make, anywhere from a couple of weeks to a couple of months to fully saturate the liquid with the plant medicine (think of vanilla extract, for example). But they are very low maintenance!
If you like the idea of herbal medicine but aren’t sure where to start, Everyday Herbal takes the overwhelm out of making remedies!
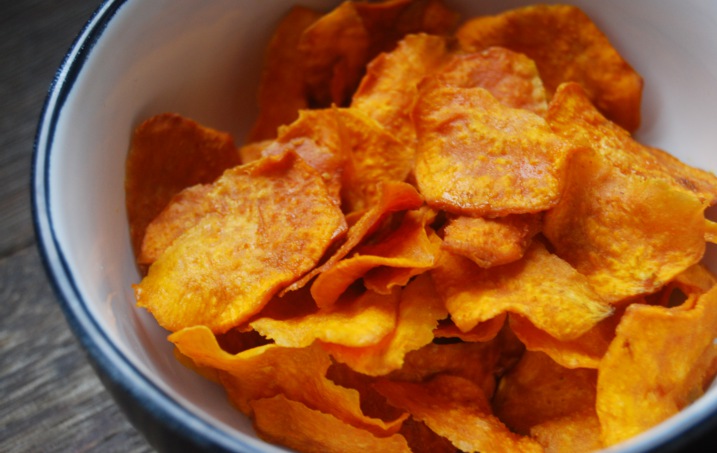
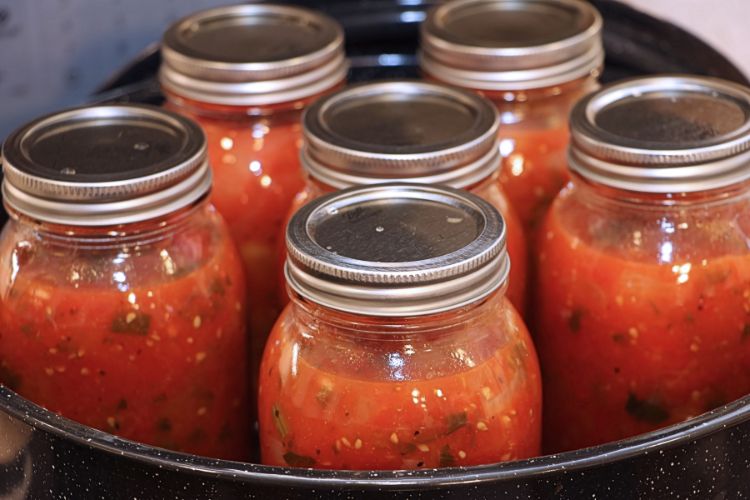
Canning
Canning is a newer, high-heat preserving method in which foods are sealed in airtight containers to prevent them from spoiling. Foods can be canned using water or pressure, and canned foods last for a long time, anywhere from months to years.
Canning to preserve food at home is something we have the least experience with at the Academy of Culinary Nutrition, as the high heats and the perils of spoilage are a deterrent for us to do this in our home kitchen!
If you grow your own food, don’t forget to save your seeds! With seed saving, you’re hanging on to the most important part of the plant to use in the next growing season. How to save your seeds will depend on what you’re growing, and each plant may have different requirements. Plants with seeds that are fairly easy to save are beans, peas, tomatoes, squash and peppers.
These are some quick tips to get you started:
Peas and beans: Put them in a container or on a large baking sheet and let them dry until they are papery/leathery (you’ll likely hear the seeds rattling around inside).
Peppers: Pull the seeds from the membrane and lay them out to dry on a plate or small baking sheet.
Tomatoes: Squish the seeds, juice and pulp into a small container along with some water. Leave for 3–5 days, stirring daily. The seeds will then fall to the bottom. Strain and rinse the seeds and lay them out to dry on a baking sheet or plate.
Squash: Separate the seeds from the pulp and lay out to dry on a baking sheet.
With these easy methods of preserving food at home, you can get the most out of the delicious ingredients you buy!
Free Resource Library
Enjoy more than 40 downloadable guides, recipes, and resources.


")