ByAcademy of Culinary NutritionLast updated onReading Time: 4 minutes
Homemade pickles are delicious and when prepared in the culinary nutrition way, they become a fermented food that is rich in probiotics and fantastic for our health. Most importantly, they are incredibly simple to make and so delicious! Learn how to make pickles at home with this easy, step-by-step tutorial.
Pickled vs Fermented: What’s the Difference?
Pickled foods are typically preserved in an acidic medium, such as vinegar. The brine is often heated and then the final product is canned (though this isn’t always the case, as you can make quick pickles that keep for a few days in the fridge). Store-bought vinegar pickles usually also contain sugar, preservatives and artificial colours to maintain their shelf-stable qualities.
Fermented foods like sauerkraut or pickled veggies often use a brine of salt mixed with water, which is then poured over the vegetables. This creates an environment where microbes transform the sugars in the veggies into lactic acid, creating that tangy, sour flavour. You can also use an array of spices and herbs for flavour. But you don’t add any sugar, vinegars or preservatives during this process.
You aren’t limited to cucumber pickles here – you can also use this simple pickling method to pickle carrots, beets, onions, green beans and just about anything!
Let’s get started.
Get your FREE Step-by-Step Pickling Guide plus 35 more free resource guides!
Fill out the form below for instant access.
Free Resource Library
Enjoy more than 40 downloadable guides, recipes, and resources.
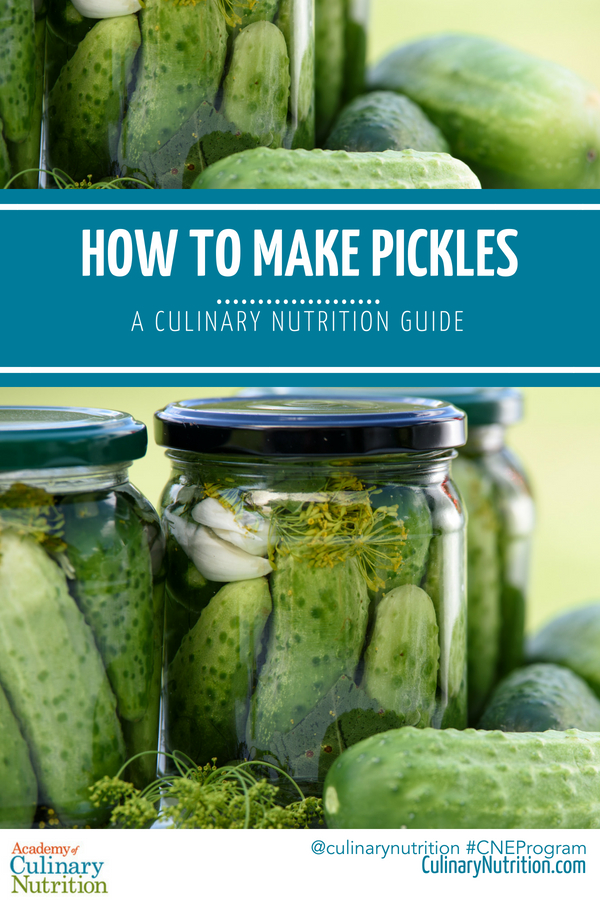
How to Make Pickles at Home
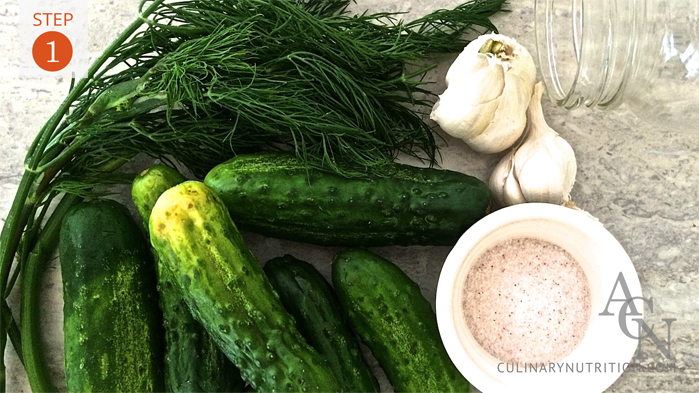
Gather your ingredients together. For a one-litre Mason jar’s worth of pickles, you’ll need:
About 8-12 small cucumbers
3-5 cloves of garlic (depending on how garlicky you like them)
1/4 cup – 1/2 cup fresh dill (or 2 tbsp dried dill seeds)
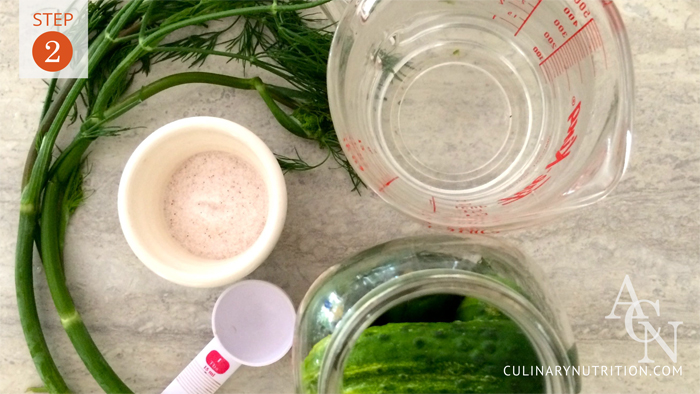
Add your cucumbers. I recommend stacking the bottom layer of cucumbers and then placing a few cukes horizontally to wedge them in. This will help keep the cucumbers submerged for optimal lactic acid fermentation.
Add water until you reach the part of the jar that starts to taper in. Make sure all cukes are covered.
Pour the water from the jar into a measuring cup. For every 1 cup of water, add 1/2 to 1 Tbsp of sea salt (I use about 3/4 of a tbsp per cup of water – you may want less or more depending on how salty you like things).
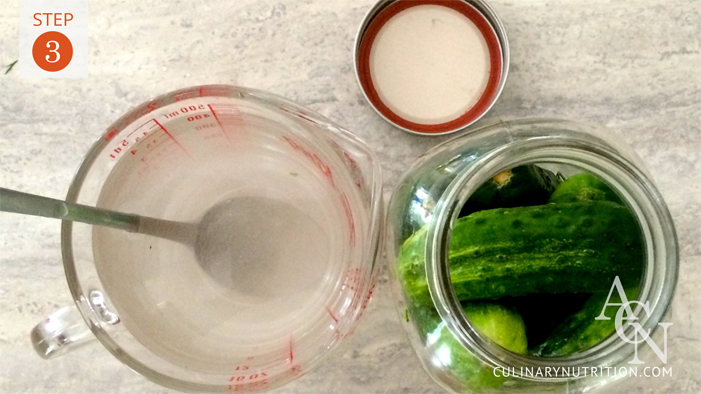
Stir the salt into the water until dissolved and then pour back into the jar of cucumbers.
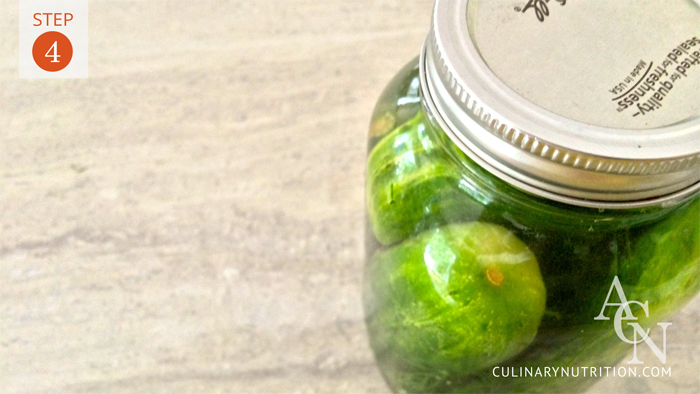
Seal the jar and set on counter covered or in a cupboard that is not too hot and not too cold. Ensure that the cucumbers stay submerged in the brine, otherwise mold may develop. If they keep popping up, place a rolled leaf of cabbage or a weight on top to keep them under the brine.
Let sit for 3 days and then transfer to your fridge. Open when you’re ready. Use a clean fork or spoon to grab the veggies (no double-dipping).
Note: Fermenting Other Types of Veggies
If you are fermenting other types of veggies, like beans or carrots, they may need more time. I recommend leaving them on your counter with the lid on gently, not sealed, or covered with a cloth to keep bugs and dust out. Taste after 3 days, 4 days, 5 days etc. until they are the taste and consistency you like best. Then transfer to the fridge. You may need to skim a little scum off the top. If you ever see fuzz or bugs, that’s a bad thing and best to discard. When in doubt, throw it out!
Free Resource Library
Enjoy more than 40 downloadable guides, recipes, and resources.